Actions
Wiki | Team Members | Meeting Documentation | Our Project | User Manual | Functional & Non-Functional Requirements | Math Document | UML Diagrams | Results
Test Report
Test Plan
Test 1 Plan
Step 1: Prepare 2 projectors and 2 laptops and 2 images- Arrange them so that their lenses are approximately 75 cm apart horizontally. Use a measuring tape for accuracy.
- Ensure you have the two images you intend to blend or a single full image that can be configured for left and right sides separately.
- Project onto a flat, perpendicular surface (screen) with enough space for both beams to overlap.
- Laptop A → Projector A (this will display the “left” image).
- Laptop B → Projector B (this will display the “right” image).
- Confirm that each projector is recognized as an external display by its respective laptop.
Step 4: Follow the user manual guide
Step 5: Run the code for each image following the user manual (left image with left projector and right image with right projector)- Execute on Laptop A
- Execute on Laptop B
Step 6: Display the image
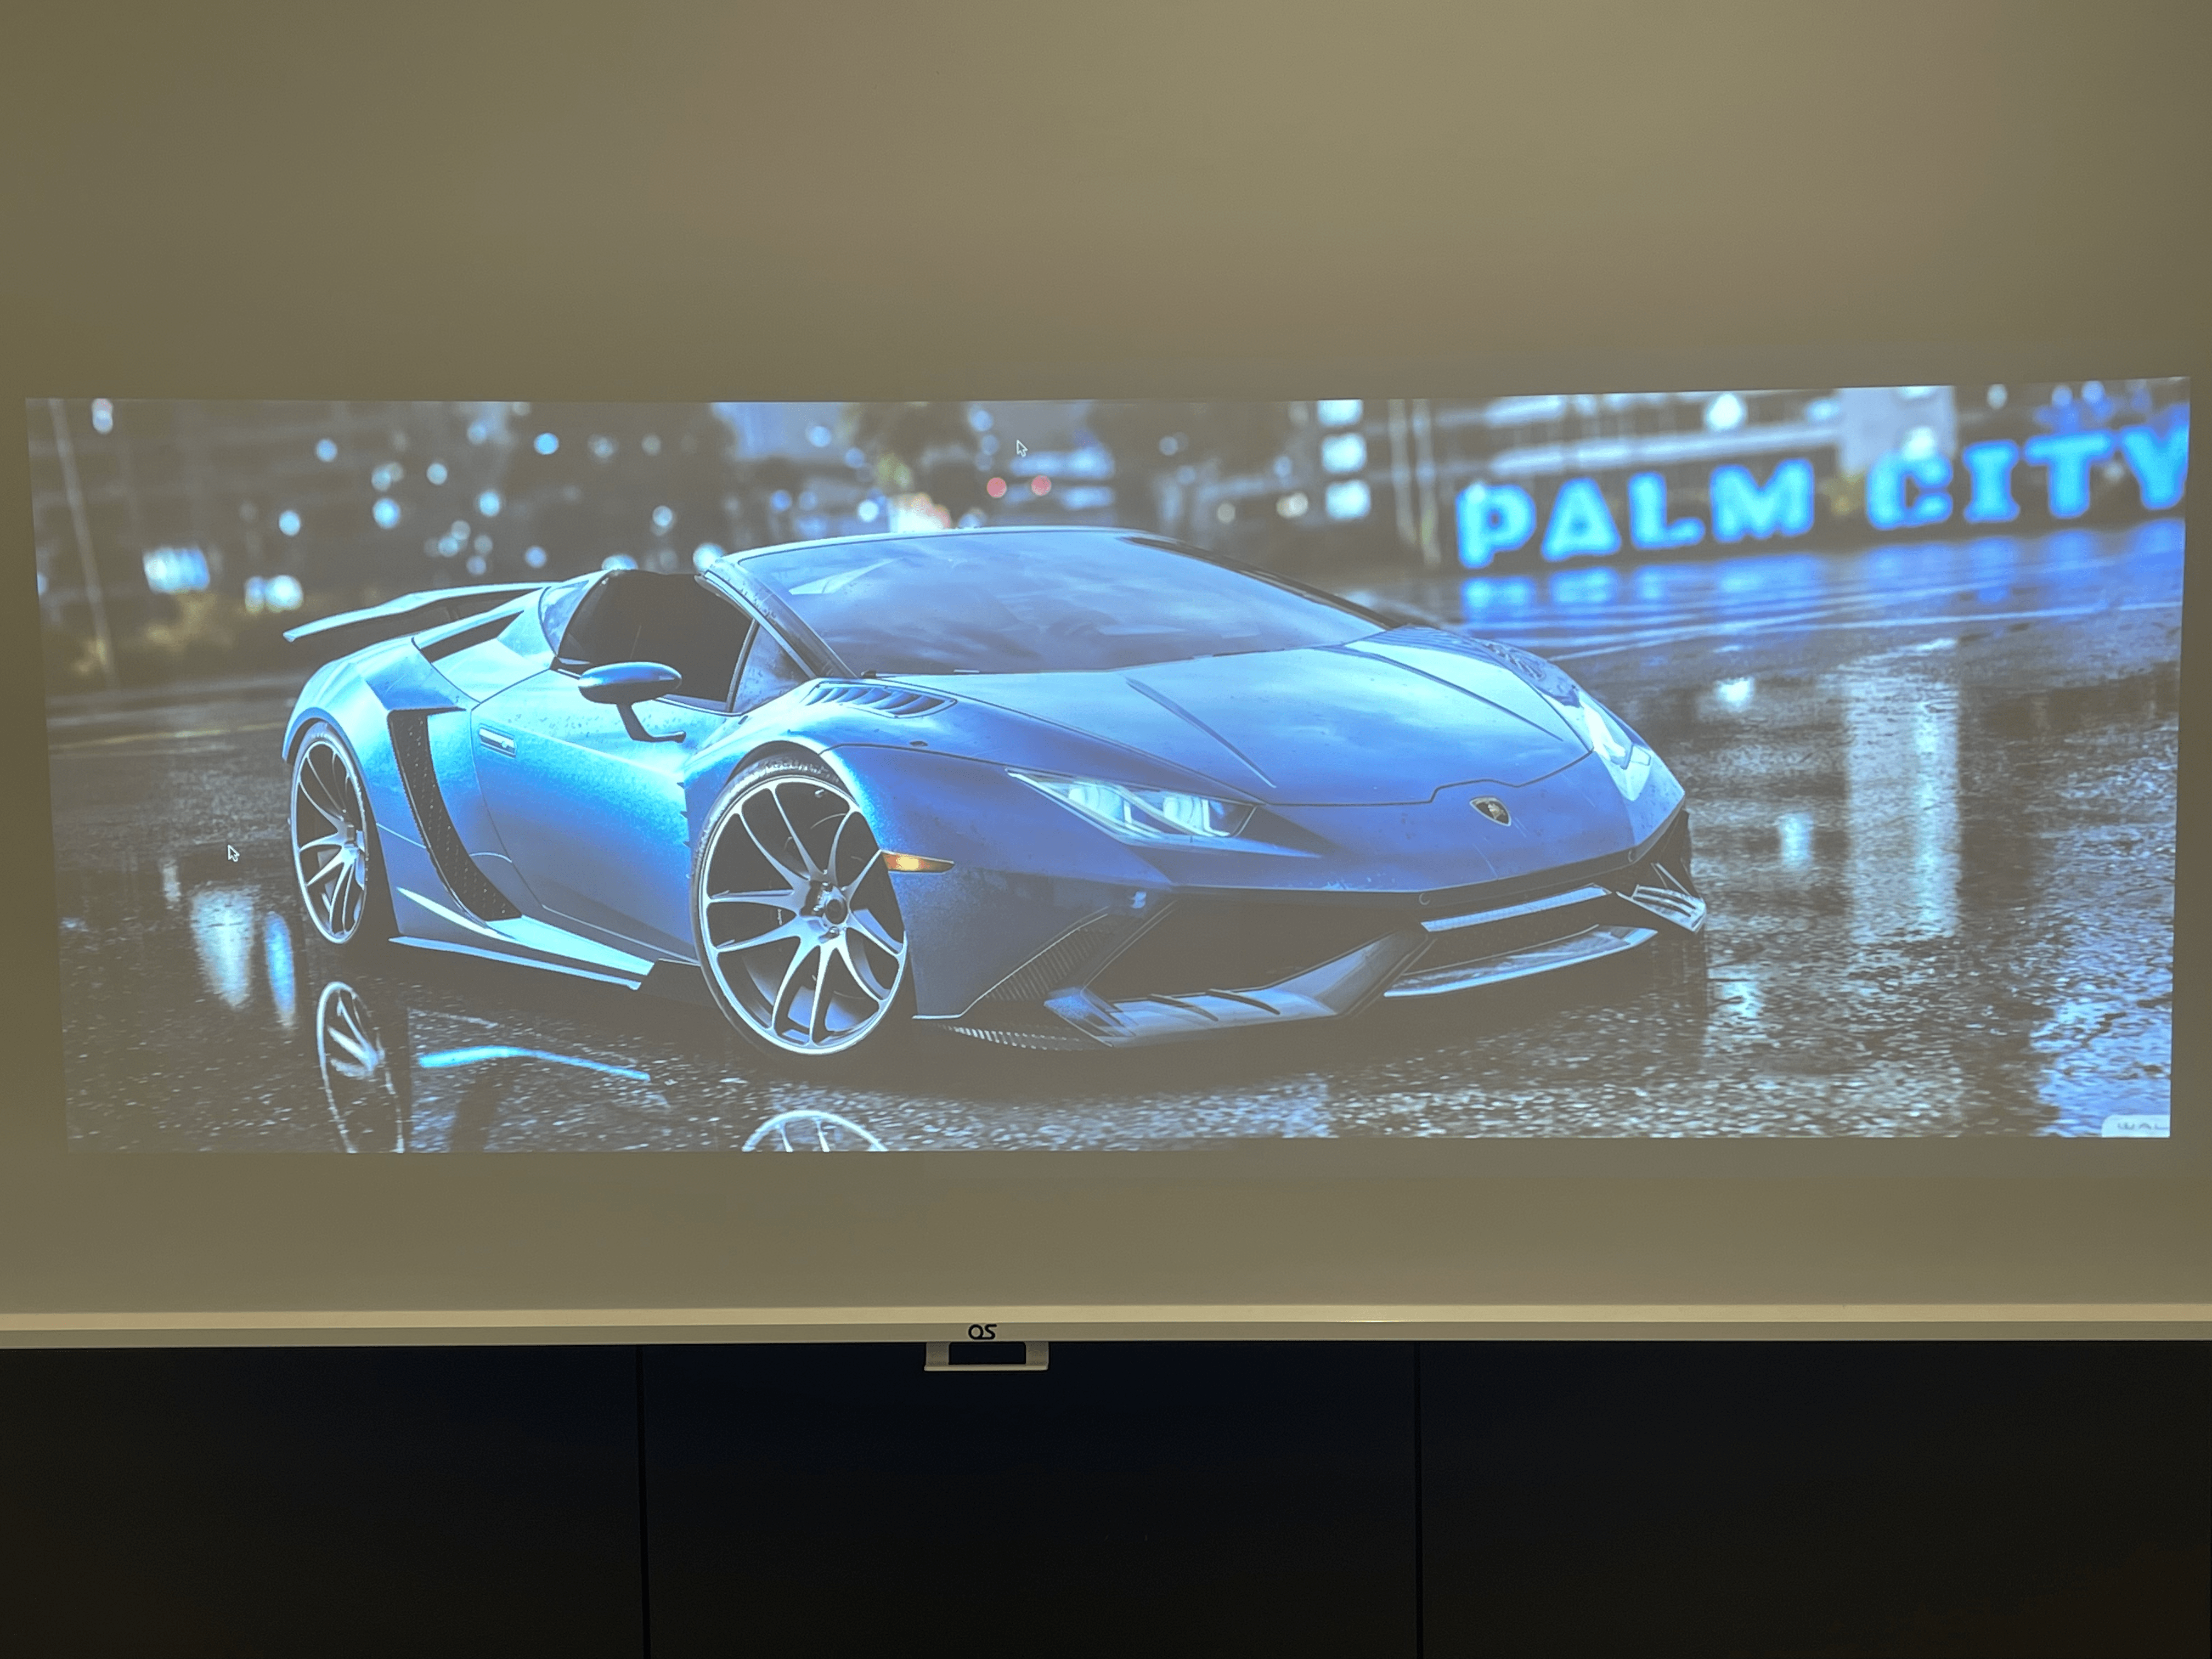
Step 7: Check the result image- The overlap region should fade from the left projector’s image to the right projector’s image smoothly.
- Adjust each projector so their outputs are as parallel as possible to each other, minimizing keystone distortion.
Step 9: Compare with the original image
Step 10: Record the result
Test Result
Updated by Nathanael Muin JUSTIN over 1 year ago · 12 revisions